
But before we launch into that, I just wanted to remind you all that we will be having a GIVEAWAY once we reach 50 followers! We are half way there, so remember to become a follower if you like what you see on my blog.
Ok, onto the tutorial...
You Will Need:
An egg carton
Acrylic Paint
A paint brush
Mod Podge
Two pieces of fabric: 1 piece measuring 70cms x 14cms and another measuring 70cms x 6cms
A piece of ribbon measuring 78cms long
A hot glue gun
A sewing machine
Buttons
A printer
A piece of cardstock
An Iron
A marker
Instructions:
Take your egg carton and give the inside and outside a good coat of your acrylic paint. Make sure that you have plenty of the colour you want to paint it, as you will need a fair bit to cover all sides. Depending on the colour you choose to paint your egg carton, you may need to do a second coat so that you cannot see any of the egg carton through the paint (the writing on the top of the carton will most likely still show through after one coat):

While you are waiting for the paint to dry, take your two pieces of fabric, the ribbon and your button (or buttons). Fold the larger piece of material in half (right sides together) and press:
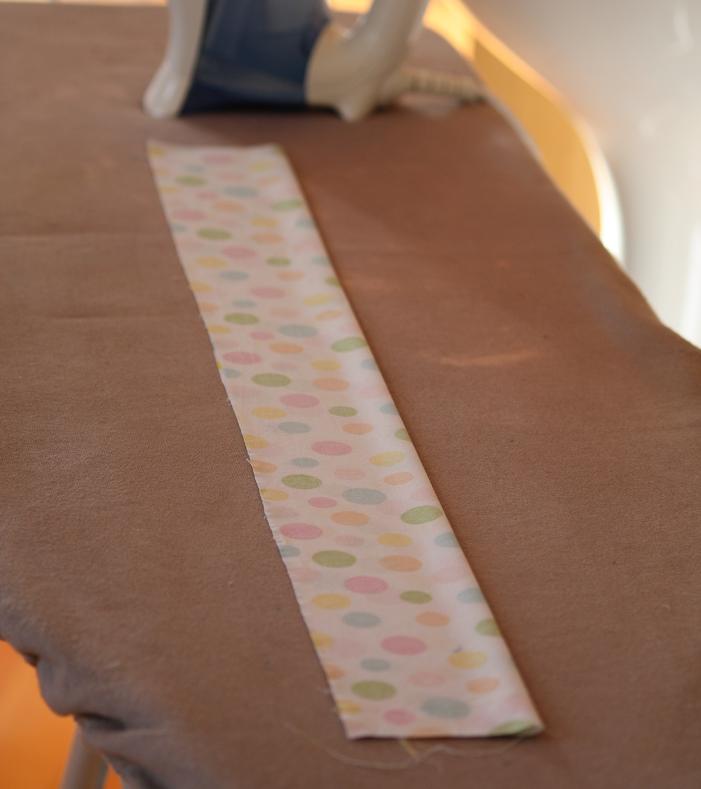 Sew around three edges before turning in the right way and pressing. Fold the open edge in roughly 5mm and press:
 Top stitch around all four edges:
 Next, take your smaller piece of fabric and press each edge under by about 5mm:
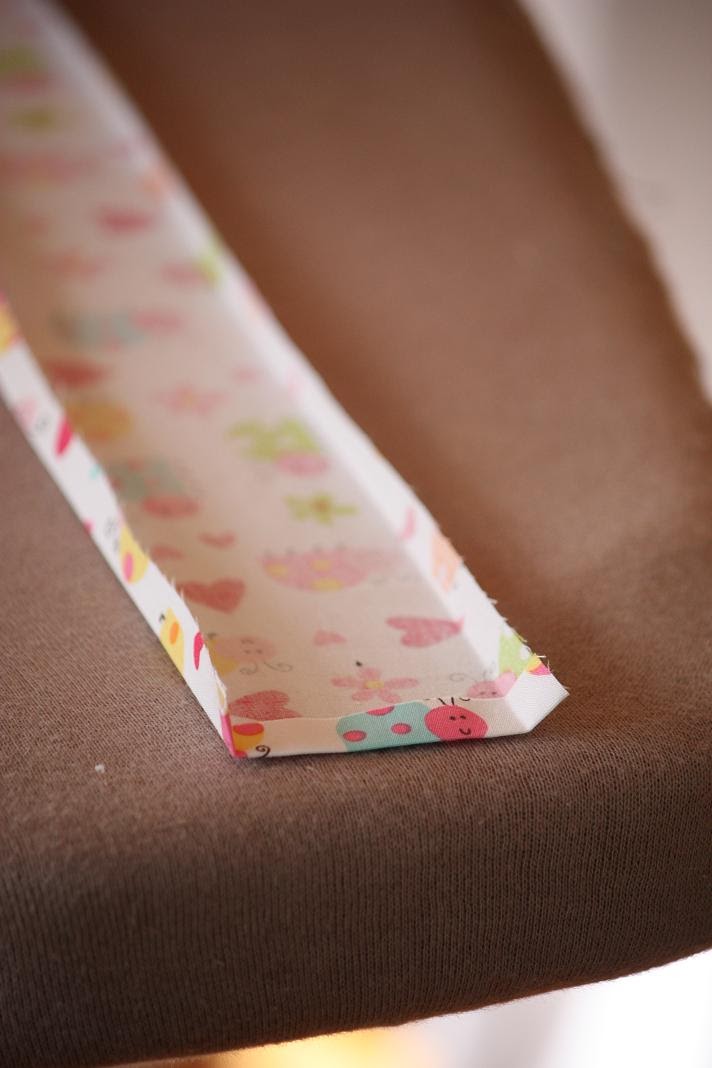 Top stitch around all four edges:
 Place the smaller piece of fabric on top of your large piece of fabric and sew down the middle with a straight stitch to secure the two pieces together:
 Next, make the ruffle by folding the material at random intervals and pinning. Here is an example of how I made mine:
 Sew a line down the middle (as close to the other line you sewed as possible), to secure the ruffles:
 Next, take your ribbon and place it over the line you just sewed. Using a wide zig zag stitch, sew the ribbon to the material, making sure that you have even overhang of ribbon on each end:
 Next, label each of the 'holes' in your egg carton with the numbers 1 through 12. Brush the inside and outside of the egg carton with a thin layer of Mod Podge:
While you are waiting for that to dry, make a template for your inventory listing, similar to the one below. You can print this one, but it does come out slightly blurry:
 Trim the inventory listing so that it will fit inside the lid of your egg carton easily. Once happy, cut your cardstock so that it is a little bigger than this piece of paper (the cardstock acts as a border around your inventory listing card) and adhere the two pieces together. Next, write the items you plan on storing in your organiser onto the inventory listing card and adhere the list to the inside of your egg carton lid ( I haven't actually decided what I'm going to store in this one, so I haven't written on my inventory listing card yet.):
Once done, hot glue gun the ruffle to the top of your egg carton and then trim off the excess ribbon. Glue your button (or buttons) to the ribbon for decoration:

Once you've done all that you're finished:

And here is the inside...all stocked and ready to go:

As always, if you have any questions regarding this tutorial please let me know.

oh the pink one looks great too!
ReplyDeletesuch a clever idea~
ReplyDeleteOhh ! I love this. It is super cute and super free! Well at least after you eat the eggs! This is great! I'm gonna
ReplyDeleteake it with my 9 year old for all her little junior craft items! Thanks!!
ooohhh! how cute, i love it! i'll be making it, you can be sure! have a nice day, bye from italy, linda
ReplyDeletecomplimenti! Bellissima idea!
ReplyDeleteGioiella, Italia
I do not even know how I ended up here, but I thought this
ReplyDeletepost was great. I don't know who you are but definitely you're going to a famous blogger if you aren't already ;) Cheers!
Check out my web site ; extreme weight loss