skip to main |
skip to sidebar
As promised, here is a picture of the project I undertook this week as part of my craft space revamp. It's a miniature birdhouse to store some of my ribbons!
 I had actually planned on completing another project (still related to ribbon storage) this week, but lets just say I had a little 'mishap' and as a result I need to start all over again.
This ribbon storage project (and the one I botched) make use of the ribbon storage reels I made earlier in the week, so my ribbons should be nice and easy to store now.
So, how did I make the birdhouse? Well I got the template from the Just Something I Made blog, followed the easy instructions and that's about all there is to it. The way that this house is put together means that you can open the bottom like a box and pop your ribbon storage reels in. Super!
Some tips if you are going to attempt this yourself:
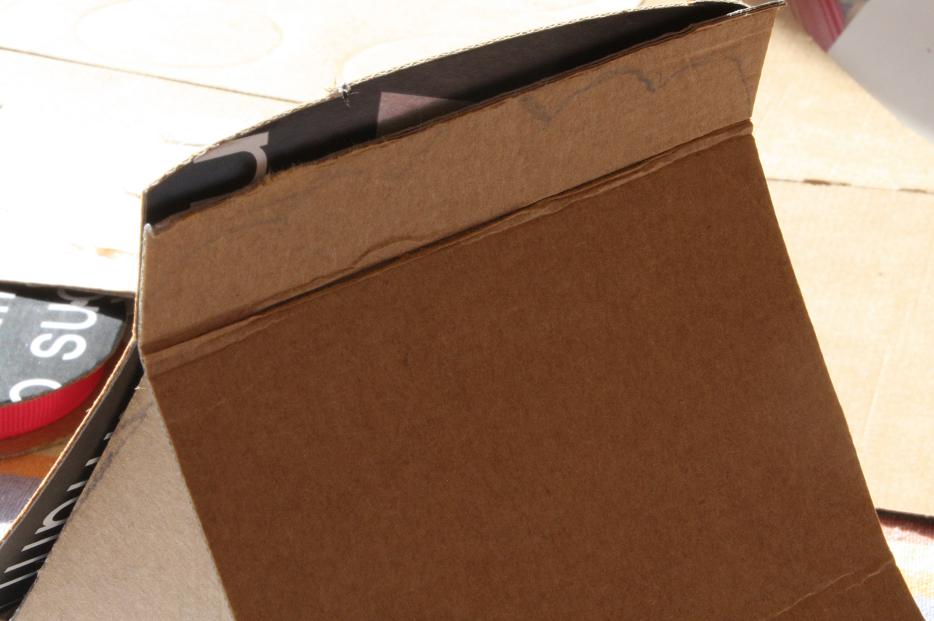
1. Scoring really does just mean 'lightly mark'. I cut a little too deep on one side of my house, and the whole thing fell in half lol. As a result I had to tape it back together:
 2. If you're using the template with the scalloped roof, don't 'pre cut' the scalloped part. I already knew the scalloped roof could present a problem for me and my less-than-average cutting skills, so instead I didn't cut out the scalloped roof until I'd stuck both pieces together.
 See, now they're even:

This house is so cute I think I'm going to make a couple more.
If you haven't checked out the Just Something I Made blog, I suggest you do. There is some pretty cool stuff on there.
Well, here it is... the finished egg carton organiser:

And here it is all stocked up:

For those of you with a keen eye and who used to watch cartoons in the 80's, yes, that is a Danger Mouse symbol on the 'inventory listing' card on the lid of the organiser. Why you ask? Well... why not? I used to love Danger Mouse as a kid and now every time I open up my organiser I will think about how awesome that cartoon was.
Anyway, since my photo sucks, let me tell you a bit more about the inventory listing card. Obviously, there are 12 holes in which to store items, so I wrote the numbers 1-12 on the bottom of each of the holes (where the eggs usually sit) and then on the inventory listing card I wrote the item that is stored in that hole. The theory is, that if I notice spot number '6' is empty, I can look at the inventory listing card and know that I need to buy thumbtacks.
The thing that surprised me most about this organiser is how sturdy it ended up being. I'm not saying you could drive your car over it and it would survive, but it is certainly a lot more stable than it was in it's original form.
Anyway, I am working on another one at the moment so that I can write up a tutorial for all of you good people, so make sure you pop back in later in the week if you want to make one of your own!
First I need to apologise because I haven't finished this item off - not through lack of trying I might add. You see, we are having TERRIBLE weather here, so it is taking aaaaaagggeeesss for things to dry. Anyway, let me tell you a little bit about my humble egg carton organiser...
It is quite a simple concept, beginning with a hefty lick of paint on a standard egg carton (we're still waiting for this to dry). In order to strengthen the lid of the carton, I painted it with Gesso (a primer) first. Then I just used a standard acrylic paint to cover all sides of the carton:
 Next I made this crazy ruffle for the top:

The next step is to glue the ruffle to the top of the container and then print up an 'inventory listing' of the contents of the egg carton (once I've filled it up) to place on the underside of the lid.
Simple, yet effective and a great way to reduce landfill! Pop in over the weekend to see the finished product (and keep an eye out for the tutorial on how to make one yourself, which I'll try and get up in the next couple of days)
Remember last week I made a decision to write a post on the progression of revamping my craft space each Friday? Well here I am, as promised.
One would have thought that the first task on my list of things to do to revamp the space would be to clean it up, as it is absolutely disgusting to say the least. Instead, I chose to make a pin cushion as I have needed one for a while.
Now, I know that making a pin cushion sounds boring... but what if I told you I made a pin cushion in the shape of a tree and that I also made some little apple pins to stick in the tree? It becomes a lot more exciting hey!
So, here is my pin cushion:
 And here is a shot of my polymer clay apple pins:
 Pretty cool hey?!?! I do think I'd like to make the top of the tree a little bigger as it is a tad out of proportion with the trunk. Not bad for a first attempt though, if I say so my self.
Is it any wonder I am uninspired? Take a look at my craft space:
 Before our son was born, I had a whole room to house my craft stuff in. Now I have a table in the family room and a bit of space in the linen press. Ergh!
It isn't a nice space to work in. I don't look at the table and immediately want to engross myself in a craft project. In fact, most of the time I avoid doing craft there because it is such an uninspiring space.
I look at pictures online (a LOT) of the spaces other people have. Take a look at Jenny's craft space over at the Allsorts blog. Isn't it just stunning?!?!
I often wonder "Why can't my space be inspiring this that?" Well the answer is that it can be. I just need to get motivated to do it.
So my challenge for the next couple of weeks/month is to bring you a post once a week with something that I have done to jazz up my craft space. Lets say that Friday is the day to show you what I've done. That gives me a whole week to do something. What is your craft space like? Do you like it or does it need a revamp too, like mine does?
 Added a bookplate to the front to hold the label:
 And this is what I ended up with - clearly labeled supplies:
 in a box of just the perfect size:
 I think I might have to make some more of these for sure!